

")
Why Use 10 ft Corral Panels for Horse Facilities
Modularity and Ease of Setup
Ten‑foot corral panels give operators precise control over space and layout. Each section can be repositioned within minutes—ideal whether you’re setting up a small quarantine pen or a larger paddock. A pin‑and‑chain connection system allows one person to reconfigure layouts without machinery, reducing labor and downtime. This flexibility helps ranches and equestrian centers adapt quickly to seasonal shifts, turnout cycles, or new horse arrivals without major infrastructure expenses.
For trainers and event organizers, portability is equally important. Ten‑foot panels stack efficiently on standard trailers, keeping transport and reassembly straightforward. Many facilities favor this length because it balances coverage, handling ease, and structural integrity.
Durability and Weather Resistance
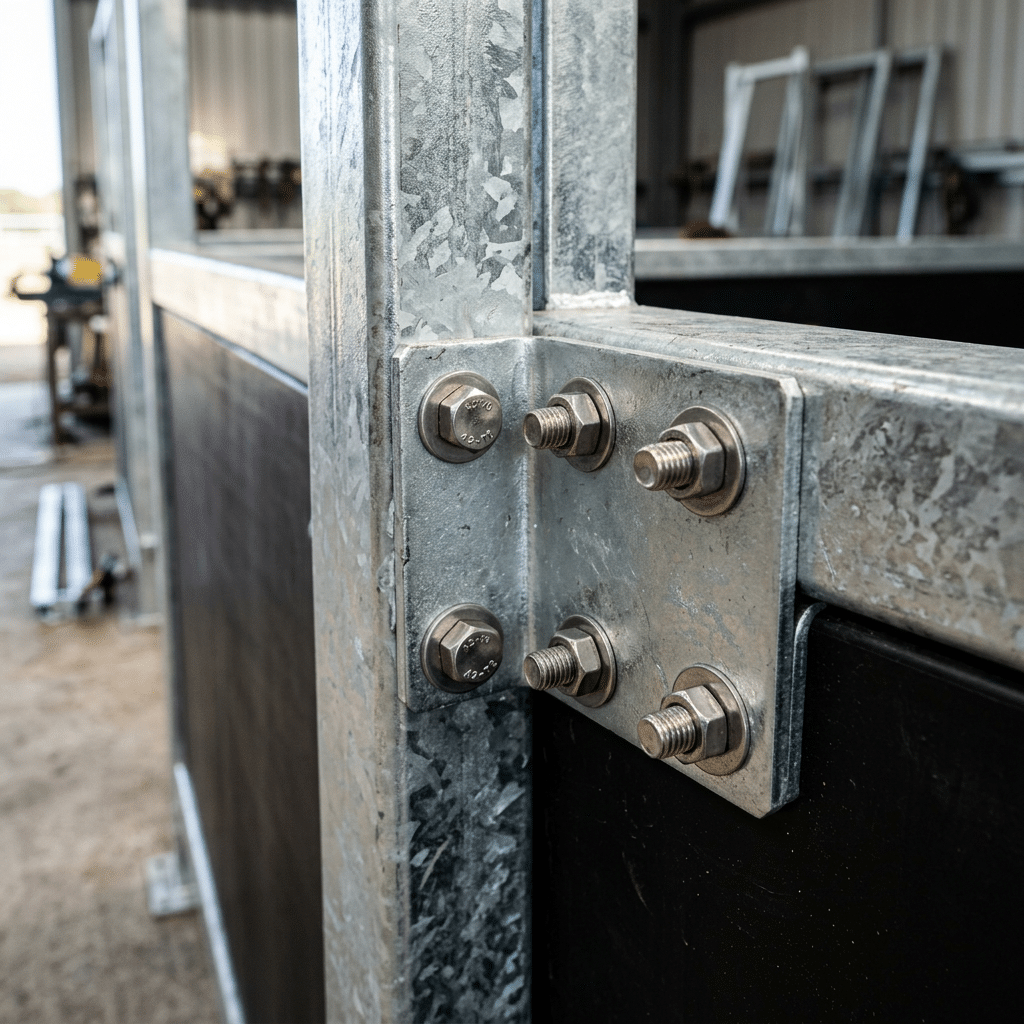
Day‑to‑day performance depends on material strength as much as design. High‑quality 10 ft panels built from 14‑ or 16‑gauge steel withstand repeated pressure from horses leaning or kicking. Powder‑coated and galvanized finishes prevent rust, fading, and surface cracking, even in humid or coastal environments, keeping welds and connections structurally sound.
Facilities that invest in coated panels often achieve a service life of ten years or more with minimal upkeep. That consistency delivers tangible savings: fewer interruptions for repairs, fewer replacements, and reliable containment through storms or muddy seasons—all of which free resources for other priorities on the property.
Safety for Horses and Handlers
Safety comes from careful design as much as durability. Smooth welds, rounded edges, and even rail spacing reduce the risk of cuts or trapped legs. Panels between five and six feet high discourage jumping while maintaining open visibility, minimizing preventable injuries that can disrupt operations or require veterinary attention.
Proper anchoring is equally critical. A U‑shaped layout reinforced with T‑posts along the back wall spreads pressure evenly and stabilizes the structure in high winds. This configuration keeps footing secure and prevents shifting when horses push against the rails. A well‑anchored setup protects animals, reassures handlers, and ensures the system stays firm under workload stress.
Prerequisites: Tools and Materials Needed
Before setting up 10 ft corral panels, gather all tools and hardware required for a safe, efficient installation. A complete toolkit prevents delays, protects panel finishes, and ensures the structure stays stable once animals are inside.
Essential Tools
Prepare durable, functional tools before unpacking panels. Wear work gloves to guard against sharp edges. Use a T-post driver and wrench for quick, secure fastening, and keep a level gauge or string line on hand to maintain straight runs. A sledgehammer is useful for driving anchor posts or stabilizers deep into the ground for solid footing.
Panel Specifications and Hardware
Select panels suited to your environment and livestock. Many professionals favor 10 ft panels from Lakeland, Rarin’ To Go, or Arrowquip, built from 14–16 gauge steel and finished with powder coating or galvanization for corrosion resistance. Include a gate panel or bow gate for safe access and connection hardware—pins, chains, or clamps—compatible with your panel type.
Stability Enhancements
For permanent or high-wind installations, reinforce structural integrity. Drive T-posts or corner braces deeply into the soil to anchor walls, and use cross ties or stabilizing rods to secure corners. On soft or uneven terrain, add ground anchors to prevent shifting. These small measures significantly boost stability and extend the working life of your panels.
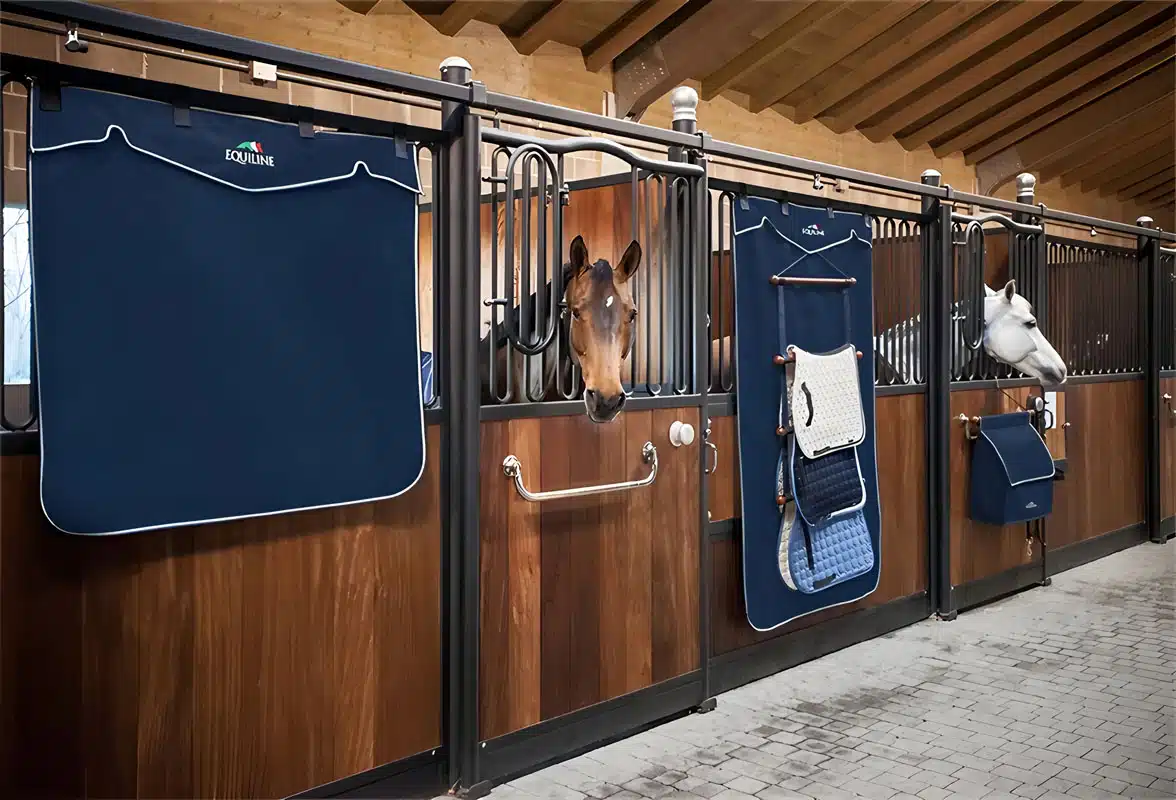
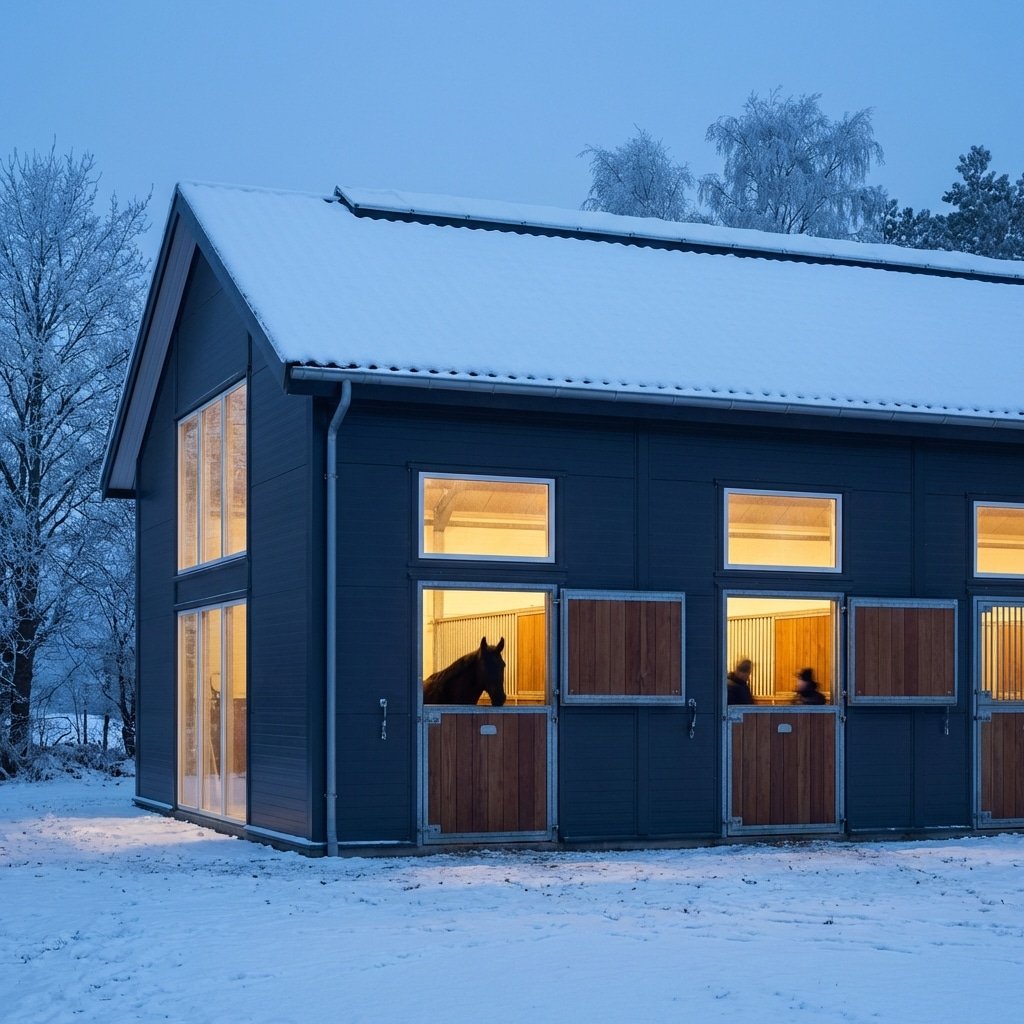
Durable Horse Stables Built for Every Climate
DB Stable delivers customizable, weather‑resistant equestrian facilities built for comfort, safety, and longevity. From scorching summers to freezing winters, our expert‑crafted stables and accessories meet international standards and adapt to your local conditions.
Step-by-Step Guide to Building a Paddock
Step 1: Measure and Mark the Area
Select a level area with slight natural drainage—enough to prevent pooling but stable underfoot. Use rope or lime powder to outline the paddock perimeter so you can visualize panel placement before assembly. Plan gates early, leaving at least one wide opening for machinery or feeding access to keep daily operations efficient and low-stress for handlers and horses.
Step 2: Connect Panels Securely
Match connectors to the brand specifications—some panels use chains, while others rely on double-pin systems. Align the top rails so the run stays straight and stable, and allow slight movement between panels to accommodate temperature expansion. Pause after every two or three sections to inspect alignment and tension; verifying early prevents sagging when horses lean or push against the structure later.
Step 3: Reinforce Corners and Gates
Corners and gates take the most force, so secure them thoroughly. Drive T-posts behind each corner panel to block movement and brace against wind stress. For the gate, install deep-set posts and reliable latches accessible from both sides. Taking a few extra minutes to reinforce these points ensures long-term safety and reduces the need for costly adjustments down the line.
Step-by-Step Guide to Assembling a Round Pen
Building a round pen with 10 ft corral panels provides control over space, safety, and cost while maintaining flexibility for training or turnout. The right design supports smooth animal movement and minimizes strain on panels. Follow these steps to create a durable, low‑maintenance setup suited to daily use and shifting weather conditions.
Step 1: Calculate the Number of Panels
Begin by determining your preferred pen size. A 50 ft diameter pen generally requires 15 or 16 ten‑foot panels, plus one matching gate for convenient access. For smaller horses or compact sites, a 40 ft diameter setup works well with about 13 panels. Ordering one or two extra panels offers flexibility if you later expand or modify the layout.
Step 2: Position Panels Evenly in a Circle
Stand the first panel upright, then connect the next at a slight angle to form a smooth arc. Continue in sequence until the circle closes. Maintaining symmetry is essential—misaligned angles can create stress points where panels join and compromise stability. Laying out rope markers in advance helps keep the circle even and ensures a clean, professional finish.
Step 3: Level the Ground and Add Stability
Proper footing safeguards horses and preserves your investment. Fill and compact low areas to avoid standing water, then spread crushed gravel or similar material for drainage. On uneven or windy terrain, anchor the base of each panel or set T‑posts at key points for reinforcement. This preparation keeps the pen secure, safe, and dependable year‑round.
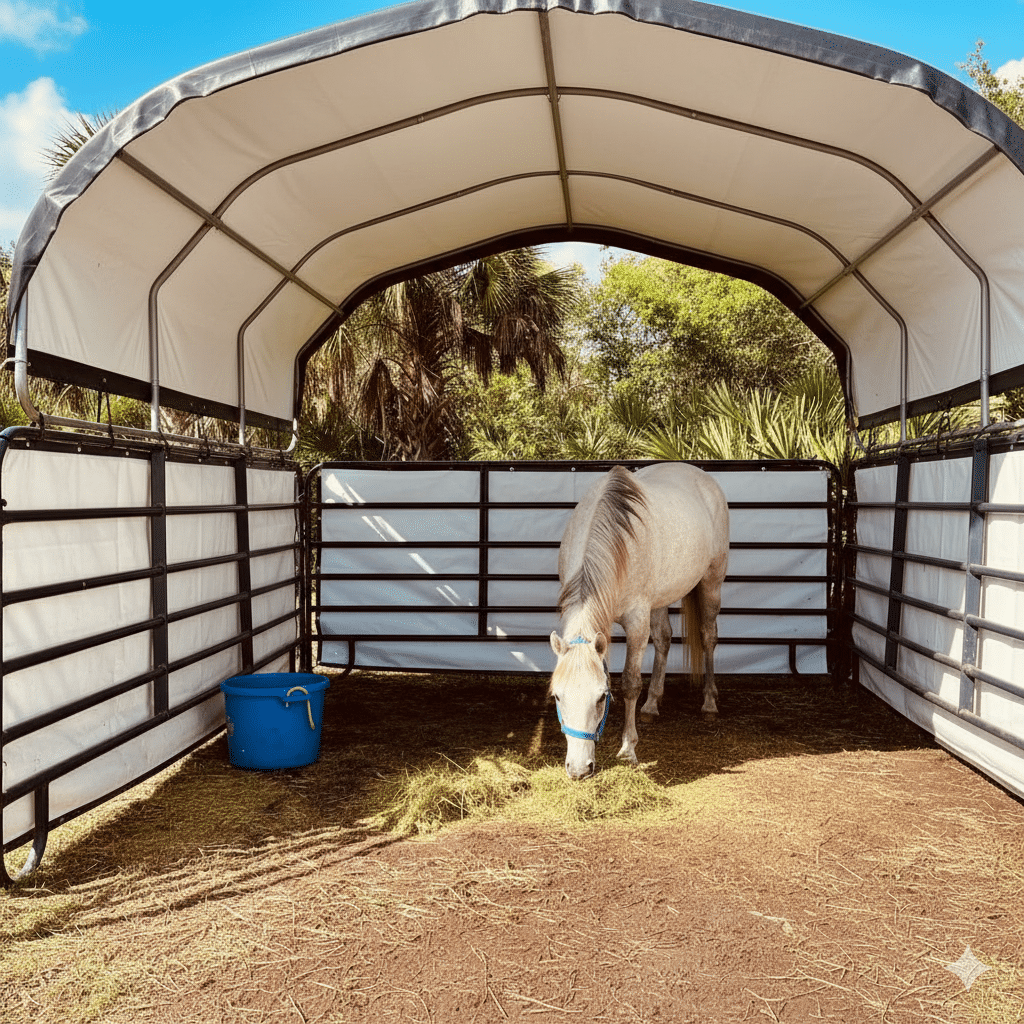
Step-by-Step Guide to Building a Simple Shelter
Step 1: Form a U-Shaped Wall
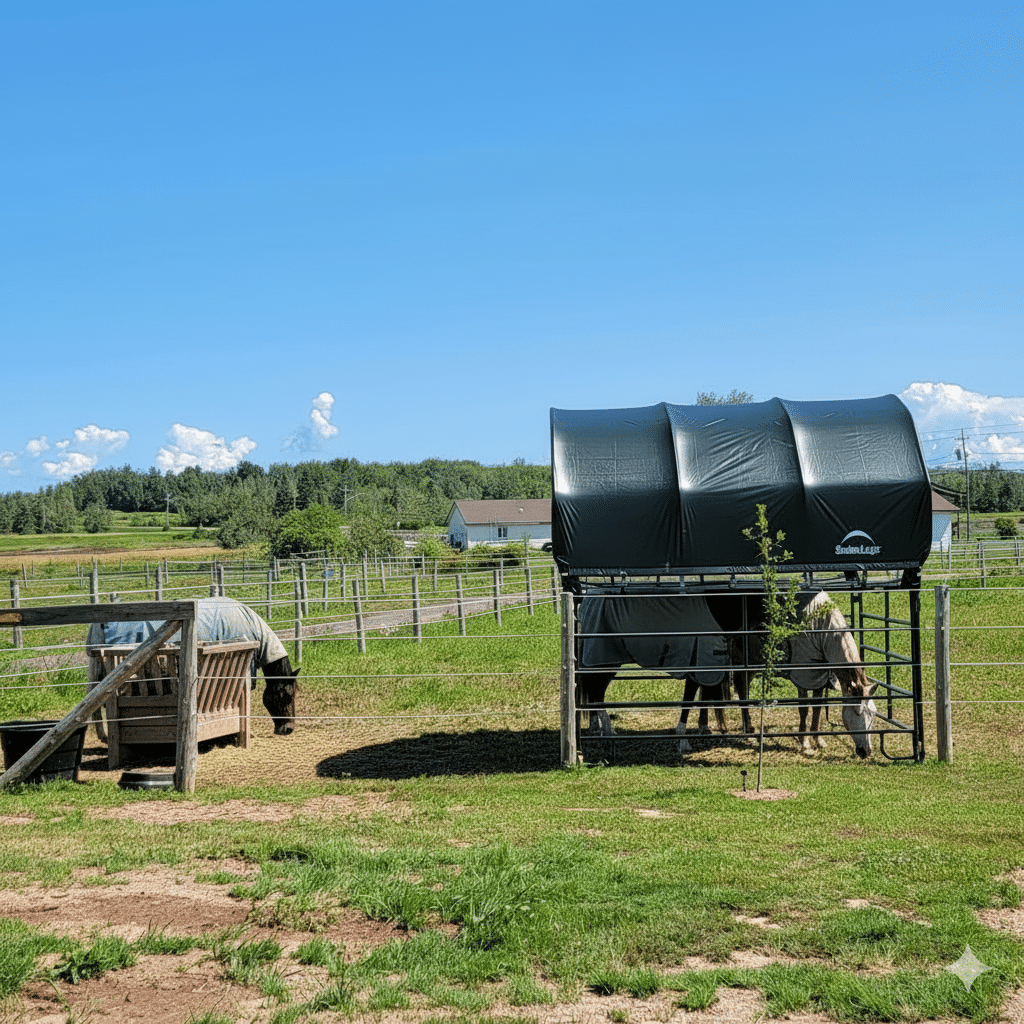
Position three 10 ft corral panels in a U shape, leaving one side open as the entrance and orienting it away from prevailing winds. Fasten the corners with clamps or brace fittings to ensure clean right angles. When available, use 6 ft-tall panels for the back wall to provide added protection from weather and to prevent horses from leaning over the top rail.
Step 2: Anchor Against Wind Pressure
After the walls are aligned, drive T-posts outside each corner and along the back side, then secure the panels to these supports with heavy wire or panel clips. Proper anchoring prevents tipping in strong winds or under animal pressure—issues that can compromise both safety and equipment integrity. A stable foundation extends service life and minimizes maintenance needs over time.
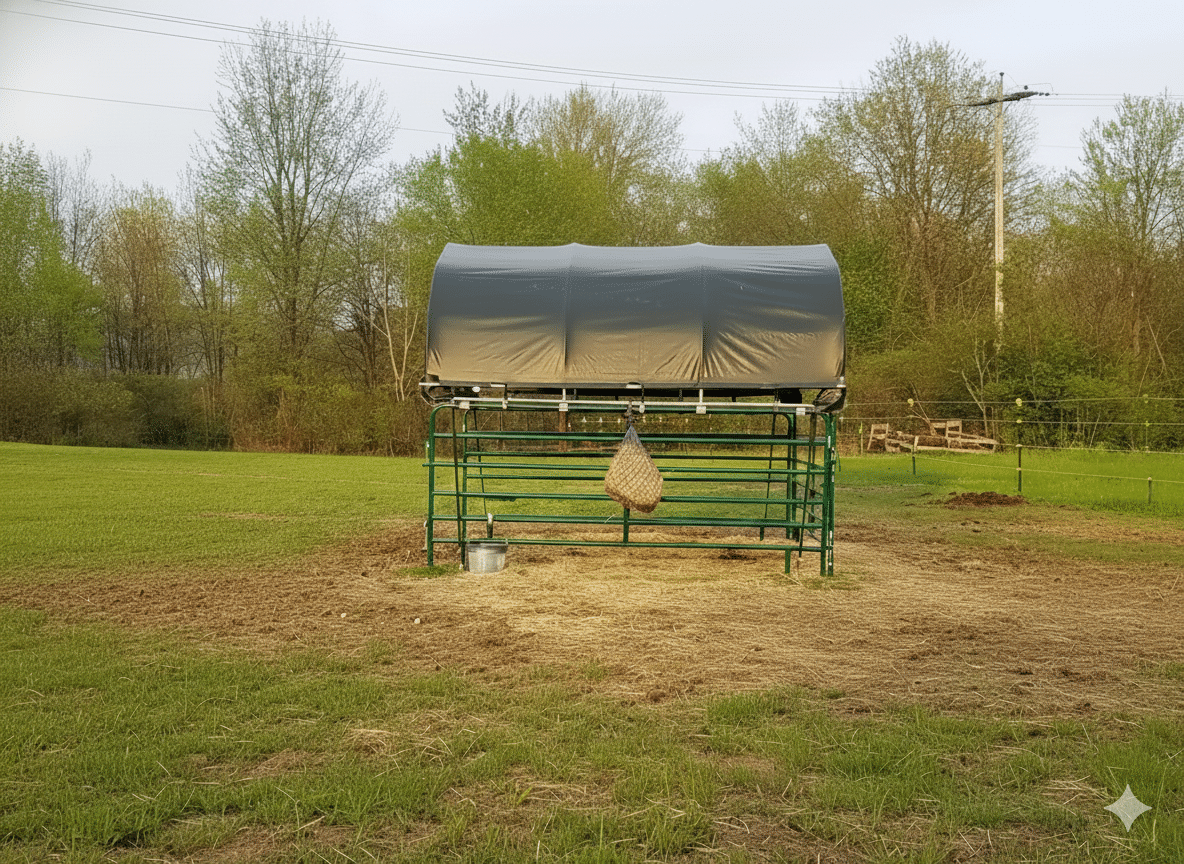
Step 3: Add a Roof for Shelter
For light overhead cover, build a dedicated roof frame from steel tubing or reinforced lumber and fasten a durable tarp or sheet metal over it. Avoid attaching a tarp directly to the panel tops, as this can distort alignment and trap heat. Maintain a minimum 8 ft clearance to ensure safe entry, adequate ventilation, and freedom of movement. This independent roof system keeps the shelter functional, safe, and structurally balanced year‑round.
Expert Tips and Common Mistakes
Top Tips for Durability
Check connection pins and footing alignment each season. Loose or bent pins can shift under pressure when animals lean on the panels. Keeping every joint tight preserves structural alignment and prevents stress cracks from forming over time.
Recoat any scratches that expose bare metal. Even galvanized or powder‑coated finishes can corrode at contact points, and prompt touch‑ups protect welds from rust that can shorten service life.
Store spare panels in a dry, level area. Moisture trapped between stacked panels speeds oxidation, while uneven piles can distort the frame and complicate future setups.
Common Mistakes to Avoid
Never skip anchoring the corners. Panels connected only by pins can shift or separate under wind or animal impact. Installing a few T‑posts or corner braces keeps the structure stable and reduces risk in high‑traffic zones.
Avoid mixing panel heights. Combining five‑ and six‑foot sections creates uneven gaps that weaken containment and give the setup an unprofessional appearance.
Do not rely solely on chain links in high‑wind or crowded areas. Chains can flex under load, allowing the layout to twist or collapse. Use solid pin or clip connectors instead to keep panels aligned and secure when animals apply pressure.
Frequently Asked Questions
How many 10 ft panels are needed for a standard round pen?
A 50 ft round pen typically requires 15 to 16 panels, including one gate. Always measure your specific panels before planning, as connector spacing can slightly change the total diameter.
What’s the best way to connect corral panels securely?
Use pin‑and‑loop or chain connectors recommended by the manufacturer. Keep joints snug for stability but with enough flexibility to adjust on uneven ground without creating stress points.
Can a roof be attached directly to corral panels?
No. Corral panels are designed for lateral pressure only. Build a separate frame anchored with posts or T‑posts to support any roof structure safely.
Are standard corral panels tall enough for horses?
Yes, most horses are well‑contained with 5 ft panels. Use 6 ft panels for taller, more energetic, or younger horses to minimize the risk of jumping or leaning injuries.
What distinguishes a bow gate from a standard panel?
Bow gates feature a reinforced arched frame that adds height clearance and rigidity, making them ideal for entry points used daily. Standard panels are straight sections designed for perimeter or internal divisions.
Final Thoughts
Ten-foot corral panels provide a stable, versatile foundation for paddocks and temporary shelters when properly installed. Always assemble the layout in a U shape and anchor the back wall with T-posts to maintain stability under wind pressure and animal contact.
With this setup complete, you’ve established a safe, functional environment for your horses. The natural next step is investing in permanent galvanized or HDPE-panel stables for long-term durability, reduced maintenance, and enhanced comfort across every season.


0 Comments